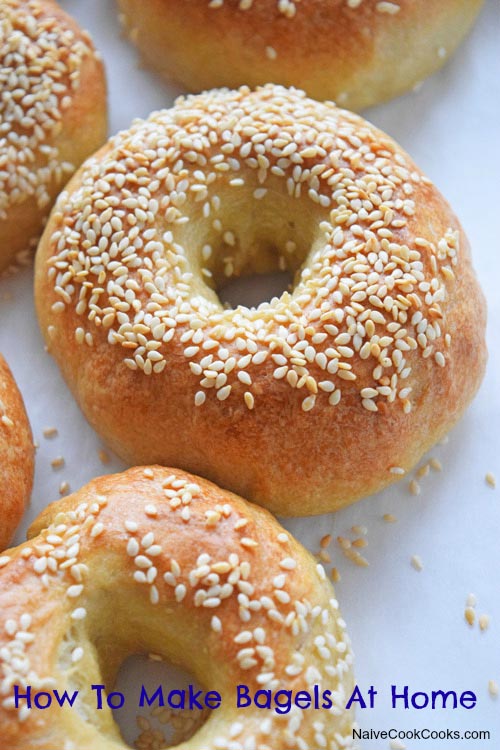
Learn how to make bagels at home in an easy step by step manner!
How was your Halloween friends? Did you guys dress up? We decided to keep it low key this time but we did gave out lot of candies to tons of cute kids who came trick or treating. I love seeing different costumes each kid dresses up in!
It got really chilly today and we ended up having peppermint hot chocolate. It felt like holiday season and I am all excited since now my favorite holidays are here. Diwali, Thanksgiving and Christmas! I can’t stop thinking about food these days so made my favorite homemade bagels again yesterday for weekend brunch. I posted them a while back when I was just starting to cook and my pictures were horrible and so was the way I explained them so I decided to make these again and share them again with you guys because nothing says weekend brunch than homemade bagels! SO. GOOD.
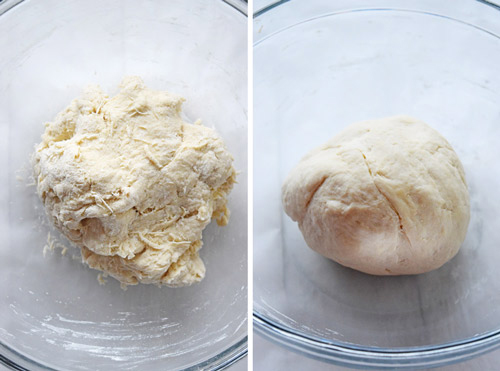
Ok so now lets discuss the nitty gritty of bagel making process and let me tell you it is so easy. These are nothing to be scared of as all it needs it patience and following the directions and you will be on your way to the best homemade bagels ever! So you start by kneading your flour and letting it rest for sometime. After that they are shaped and I used to shape then using the traditional method where I will make them into balls and roll out each ball into a rope and then join the ends to make a circle with a hole. But thanks to Sally I found an easier way of shaping them and it makes the process so speedy.
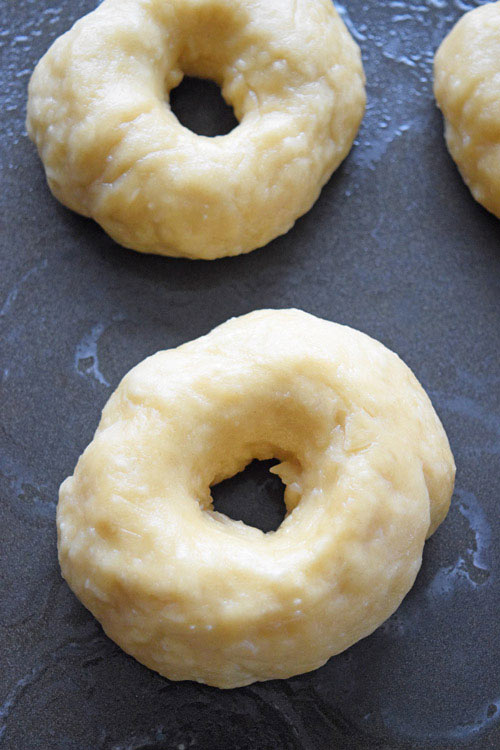
All you need to do is shape the dough into balls and then poke a hole in the center and using your fingers shape it into an even round shape. Tada and the best part about making things like bagels homemade is that you don’t even have to be all precise. These won’t be perfect looking like bakery ones but trust me, they will taste way better than any store bought bagels!
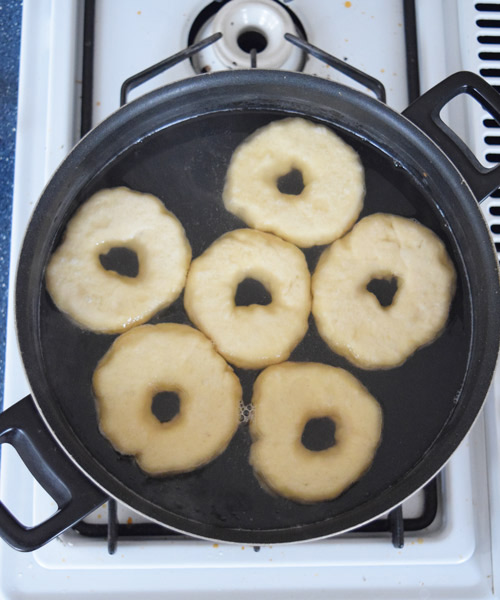
So once they are shaped, we let them sit overnight in refrigerator and then they go in a pot of boiling water to poach and then in oven. You can season them with whatever seasoning you want or leave them plain! They are best either way.
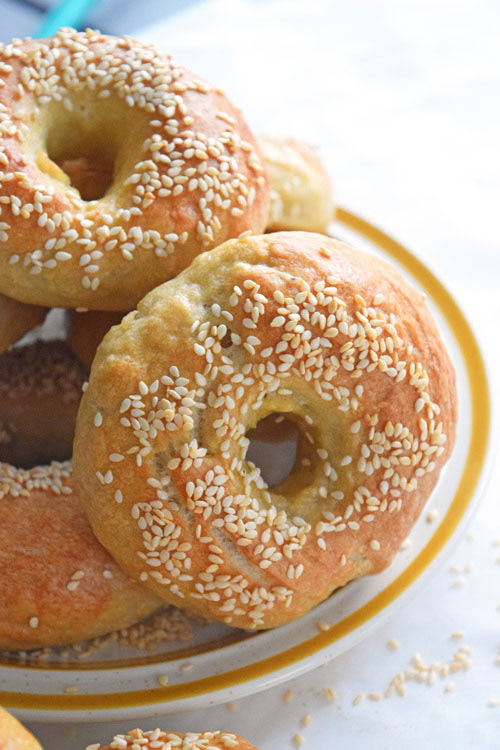
This time I went with sesame seeds as I was lazy and this is all I could easily find in my spice rack.
You need to master these as this is one recipe you would want to keep making all the time!
Follow along for a lot more delicious treats and life happenings on INSTAGRAM || FACEBOOK ||PINTEREST ||TWITTER ||GOOGLE+
- 3½ cups unbleached all purpose flour
- 3 teaspoons salt, divided
- ¾ teaspoon instant yeast
- 1 tablespoon honey
- 1 cup plus 2 tablespoons water
- 1 teaspoon baking soda
- Poppy or sesame seeds or any other seasoning of your choice
- In a bowl, mix flour,2 tsp salt, yeast, honey and water and mix to form a rough dough. Let it rest for 5 minutes and then knead it for 3-5 minutes until you get a smooth supple looking dough.
- Cover it tightly and refrigerate it for atleast an hour to few hours.
- Take out the dough and divide it into 6-8 balls. Now roll it gently into round balls. Now poke a hole in the center of each ball and using your fingers to shape it into a round circle with a hole in the center. Make sure the center hole is around an inch wide.
- Lay them on a greased baking sheet and repeat with the rest of the balls. Now once all the bagels are shaped, lightly brush them with oil and cover them and keep in refrigerator over night.
- Once you are ready to bake them, take them out and let them sit at room temperature for 90 mins.
- After about 60 mins, bring a deep large pot with water to boil. Once water is boiling, add 1 tsp salt and baking soda and let it simmer on low heat.
- Also pre heat your oven to 400F.
- Now drop bagels one by one into simmering pot of water as many as you can fit at a time. Cook them for 1 minute, flip and them cook them for another 30 seconds. Take them out using a strainer and place them on greased baking sheet. Finish all of them and then sprinkle each one of them with your choice of seasoning.
- Place them in the oven and lower the temperature to 350F. Bake them for 8 mins and then rotate the tray and bake for another 8-10 minutes. If after first 8 minutes you see the bottom getting too brown, then place another baking sheet underneath.
- Cool them on a wire rack and enjoy toasted or just like that with butter or cream cheese.
More How To Recipes:






I love making my own breads….and I need to do bagels more often. These looks super amazing! The toppings are super versatile, but I love sesame seeds! Save one for me!!!
Yes come over!! Lately I have been enjoying home made breads too! So much better!
I’ve always wanted to make my own bagels! Yours look seriously perfect.
i love making bagels at home… so fun! these look great.
What a fun recipe of making bagel at home. These look perfect.
Wow! Thank you thank you thank you! It has been years since I’ve made bagels and I loved them! I don’t know why I stopped…but you have resurrected my desire to make them again starting with your beautiful recipe! 🙂
Hi,
Do we need to add any oil or butter which kneading the dough?
Plan to make these tomorrow.
No oil or butter is needed Palak.
You will need oil only to brush them. 🙂